How to Make Your Own 3D Company Mascot With a Figurine
by Stella on May 25, 2016
Here at Matter and Form HQ we are constantly up to all kinds of scanning and printing in 3D. With tech and other gadgets around the office, we were able to create our very own 3D company mascot. We call him RAP. (Raptor, plus hammer, plus MC Hammer … it’s meta.) Anyway, we figured you might be interested in seeing the steps we take from scanning simple objects, to remixing, to print.
And so, the piece-de-resistance. May I present, RAP:
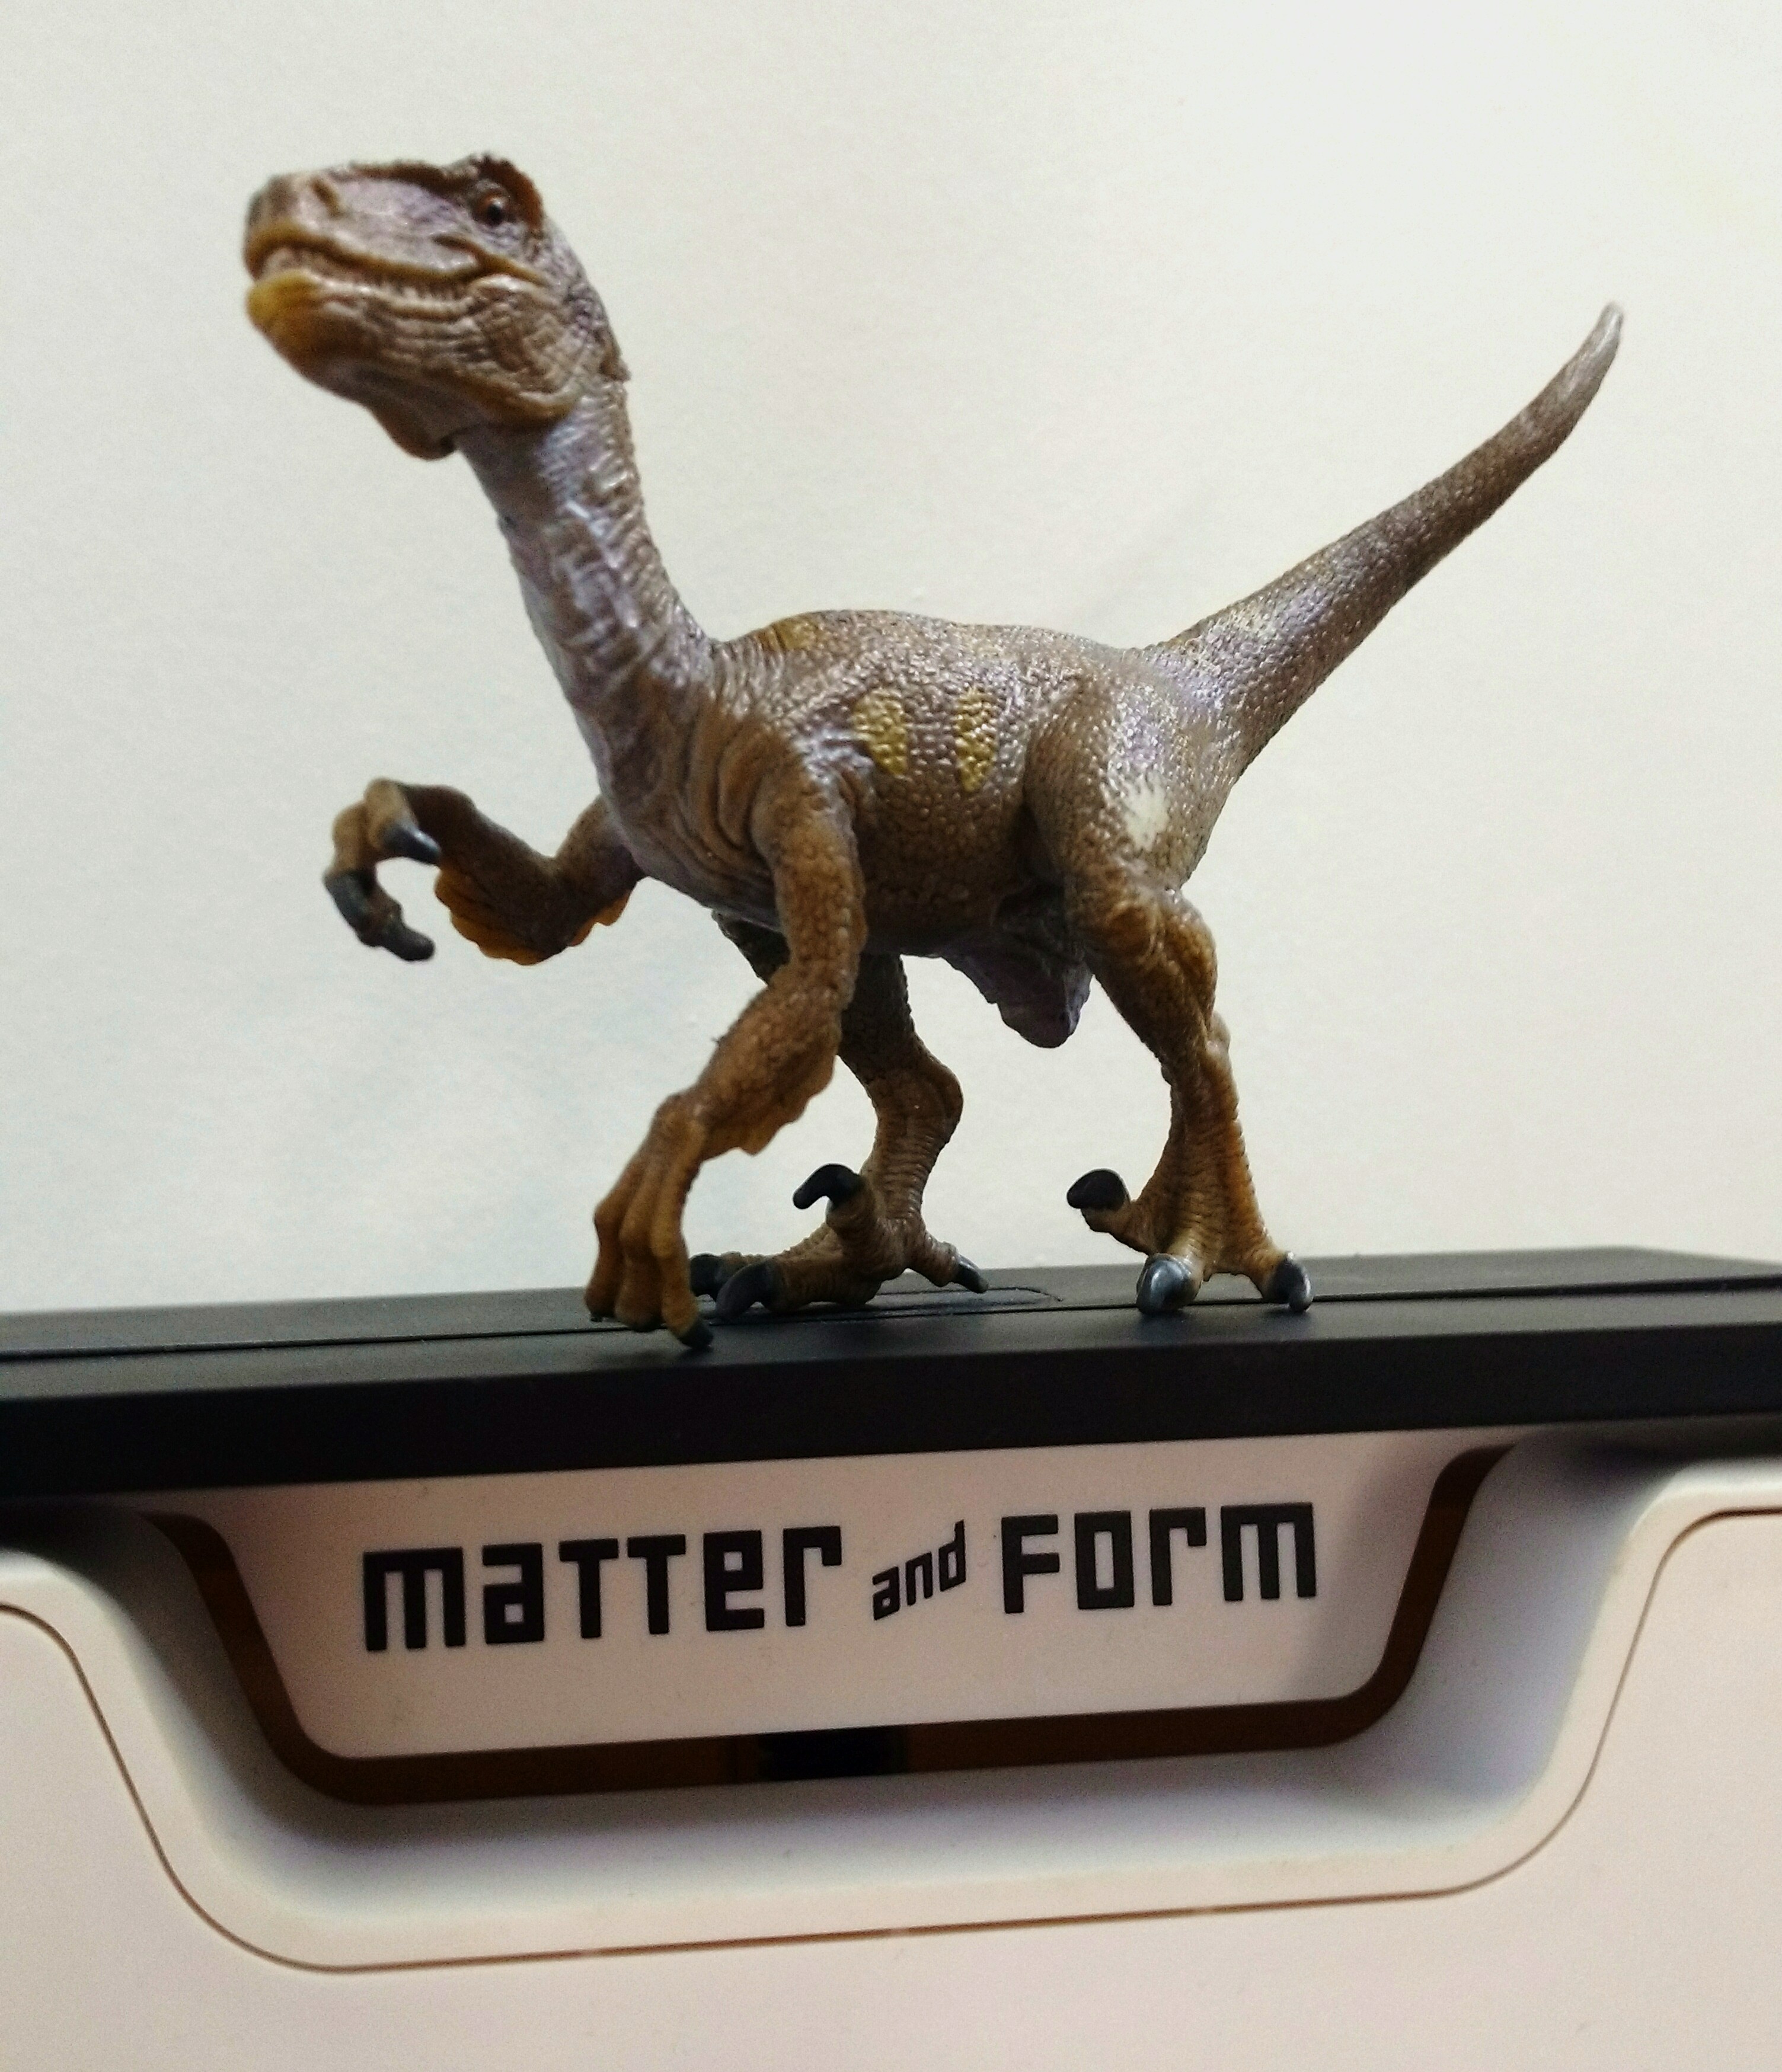
First – we scanned dear ol’ dino. He’s your basic plastic toy raptor.
Side note, our team is always here to help you get the most out of your scanner. We have some great customer service at the ready and regularly run one-on-one online tutorials for you to get the best scans possible. Check it out.
But back to our creation. It took us three scans to get every side of the raptor which we combined right in our scanner software. Bam.
[cp_modal display=”inline” id=”cp_id_d4787″][/cp_modal]
Next, we were inspired to scan a hammer. Just ‘cause, well – we knew we could.
Our scan of the hammer took multiple scans because it’s a bit too big for the bed. We combined these scans in Meshlab. And – shazam!


Ok. Now the fun part. To mash-up Raptor and Hammer. For this, we used a program called MeshMixer. This is great FREE software that calls itself the “Swiss Army Knife” for 3D meshes, and we couldn’t agree more. You can download it here.
There is a really great tutorial on YouTube that walks you through combining two objects. It basically works like this;
Import the two objects
First, you’ll want to import your files as STL’s into MeshMixer. Make sure you select ‘append’ when you import your second file. They will land basically on top of each other in the edit field.

Move and scale to fit
You can move and transform each object individually by selecting the object in the ‘object browser’ window and going to edit->transform. A directional axis will appear on the selected object. You can then move it in any direction by using the coloured arrows and scale it by selecting the white box in the centre (note: the other coloured boxes stretch the object in that direction). When the objects are where you want ‘em, go ahead and hit ‘accept’ in the transformation box.

Combine and make solid
To mesh the objects into one final model, you’ll want to select both files in the object browser window and select edit->combine. The files are now one object! Fancy. But there is one more step in order to make this printable. Again under edit, you’ll want to select ‘make solid’. This will make sure all of the nooks and crannies between the two objects are sealed up to make a watertight mesh. You can adjust the settings in the ‘make solid’ window that appears until you are happy with the results. Then, click ‘accept’, and you’re good to go.

But wait, there’s more! Time to print this bad boy. We used our fave 3D printer, the CEL Robox. Here he is in the last hour of being printed, and the final print. This did take an epic amount of time to print (around 14 hours in fact) but damn – he’s fine, ain’t he?


In conclusion; 3D tech is rad.
Let us know about your experiences with 3D scanning and printing. We’d love to hear from you.
Learn More About 3D Scanning on Our Blog:
- The Coolest 3D Scans We Have Ever Seen
- What are 3D Scanners Used For?
- 3D Scanning for Artists: How a 3D Scanner Launched a Jewelry Business
- The Future of Museums: Transform Artifacts into Accessible 3D Scans
- 3D Scanning in Art: 6 Stunning Art Exhibits Made with 3D Scanners
- 3D Scanning Art: An Ancient Art Mystery Solved by 3D Scanning
- 3 Next-Level 3D Scanning Art Projects